The tamiya A-1H Skyraider is a great model for beginners because it is easy to assemble, all the parts have a perfect fit and the paint scheme is simple.
After taking a break from scale modelling, I finally started the Skyraider. As with most other tamiya kits, none of the parts have any flash and they all have great detail. The cockpit was extremely easy to build but I did not add too much detail because most of it won’t be seen.
The sprues were made of light grey plastic, making it easier to paint them white
I did not apply the instrument panel decal, and instead painted the dials with a gloss coat
the cockpit and rear gear bay fit very well into the fuselage
I painted the engine with Alclad polished aluminium
And then I glued it into the cowling
There were some minor gaps between the cowling and the fuselage but I fixed them with filler
The propeller looks awesome with the iconic sky raider white-red-white paint scheme
No problems with the wings
main assembly finished, small gaps were filled with milliput
I decided to mount 12 pylons that will hold HVAR rockets
HVAR rockets painted light grey and the nose cone in olive drab
I decided to go for the open airbrake option but then I realised I won’t be able to set the bottom airbrake in the open position since it would be lower than the landing gears so only the side ones will be open in this build.
Continuing on with this build, I finished the landing gear and other small parts, attached the flaps and started panting the underside.
Front landing gears painted and ready for a wash
Small parts painted and the airbrakes and landing gears have been given a dirty wash
I decided to put the flaps in the down position. They were a bit difficult to attach because to only parts supporting them are the four very thin levers
Underside painted white but then I realised that I forgot to pre-shade
So I pre-shaded with flat black and when I wanted to apply a thin second coat of white, I found out that I had run out.
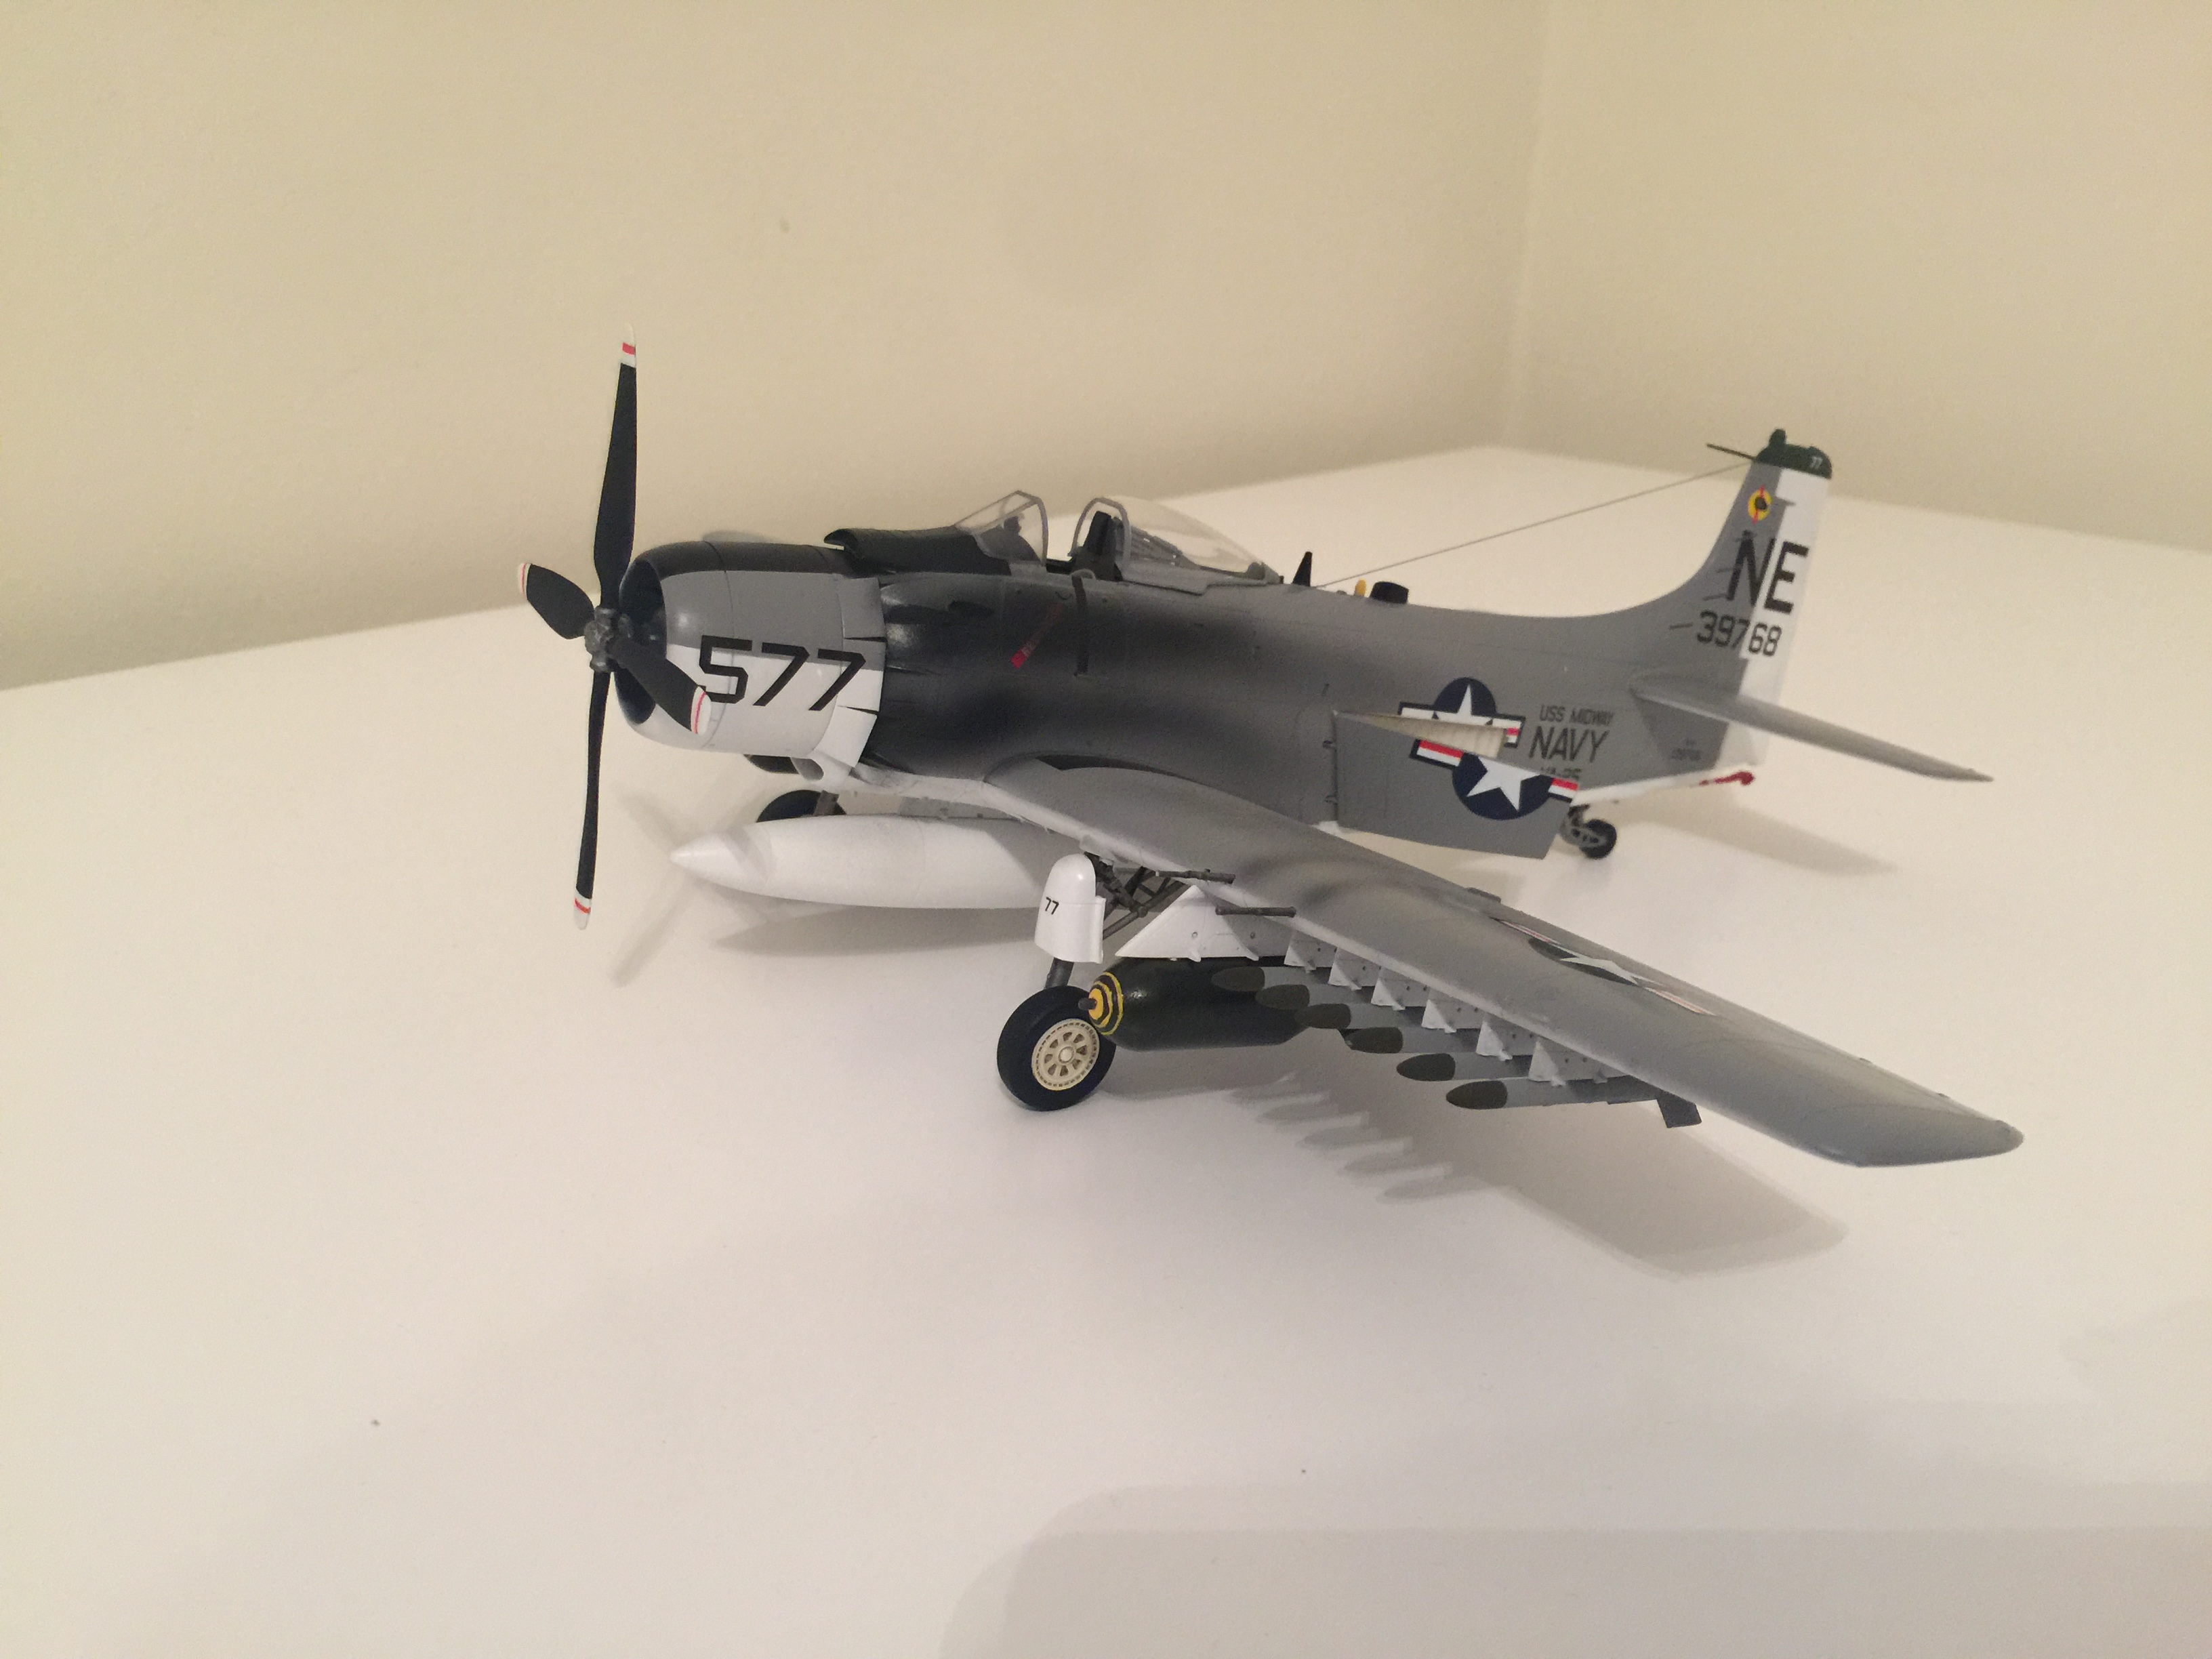
After returning from my holidays, I resumed the build. The skyraider was ready to paint so I decided to go for the VA-25 “The fist of the fleet” color scheme and decals. I did not have the exact color of grey but I had some tamiya light grey so I decided to use that color. For the underside color, I used tamiya flat white. Once the painting and weathering was finished, I applied some alclad 2 clear gloss varnish to seal and protect the paint and provide a gloss surface for the decals. I hope to finish the decalling and apply the final clear coat by the end of this week.
The marking scheme
Initial layer of paint, the rudder has been painted white and then masked off
Exhaust and gun streaks weathered
Airbrake surfaces painted and a gloss coat applied
Airbrake surfaces stained, antennas painted, flat black anti-glare surface airbrushed and landing gears glued into place
Airbrakes, rockets and prop installed. I also made an antenna line out of stretched sprue
No Comments Yet