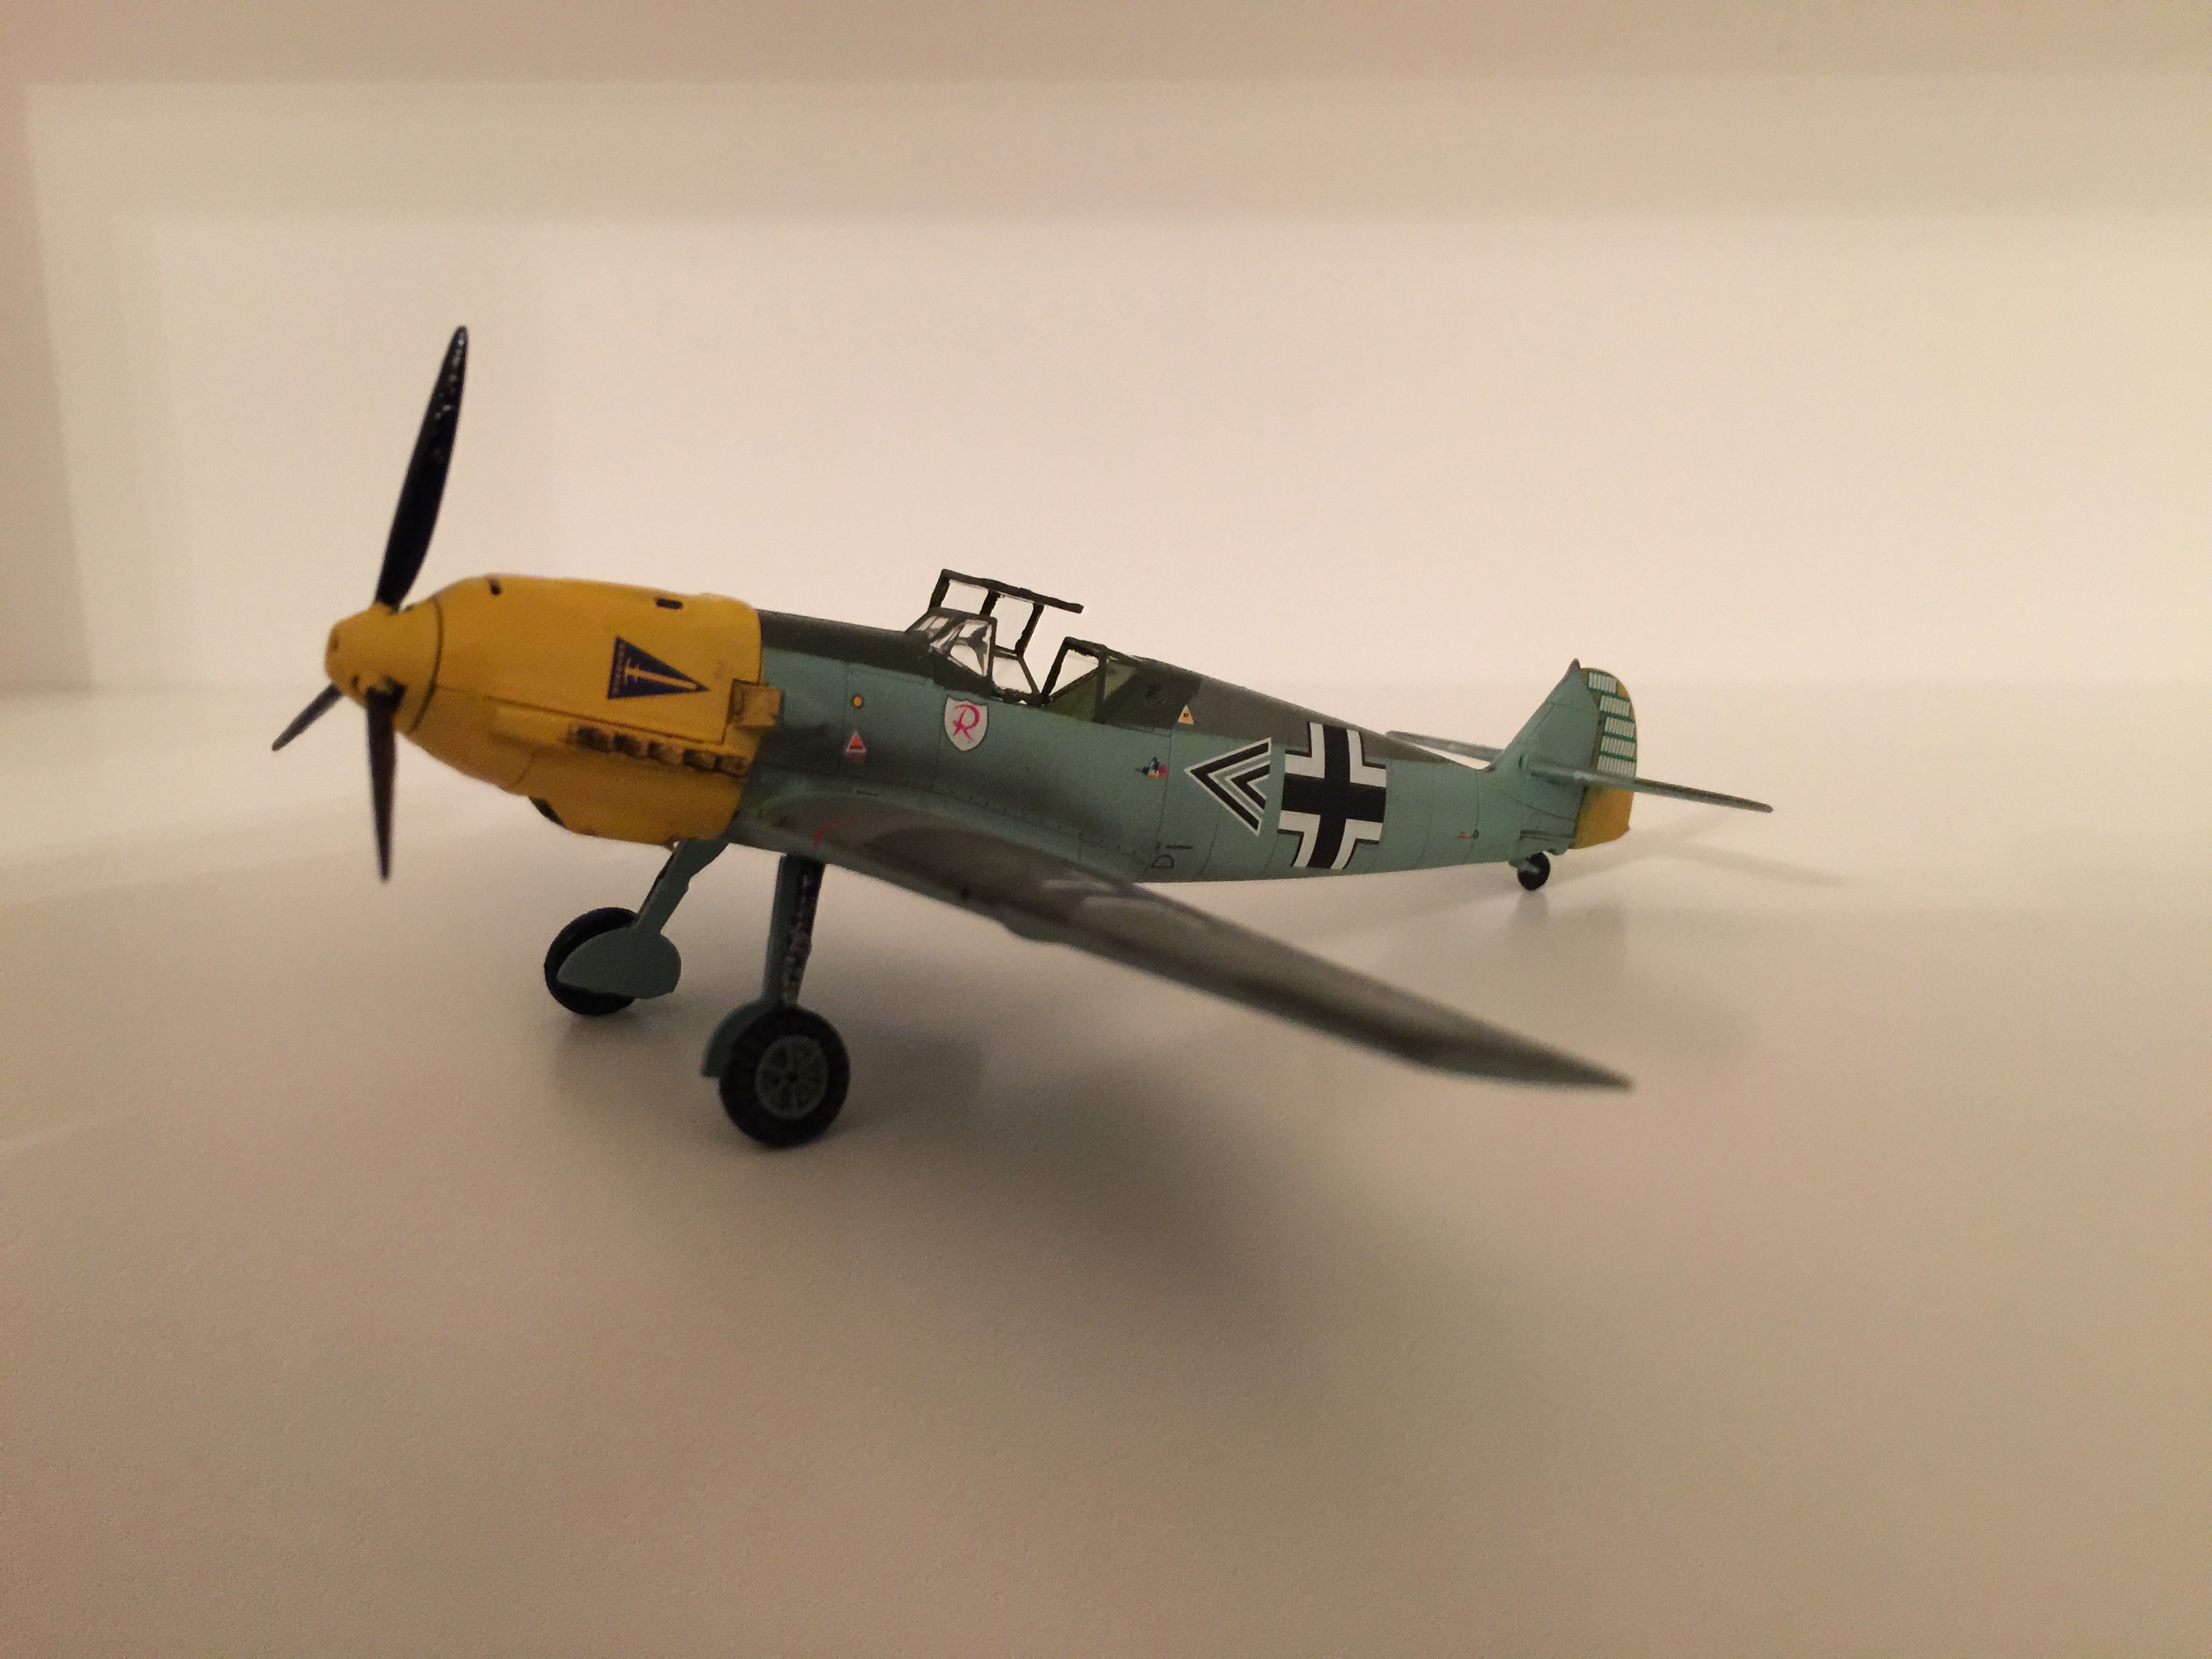
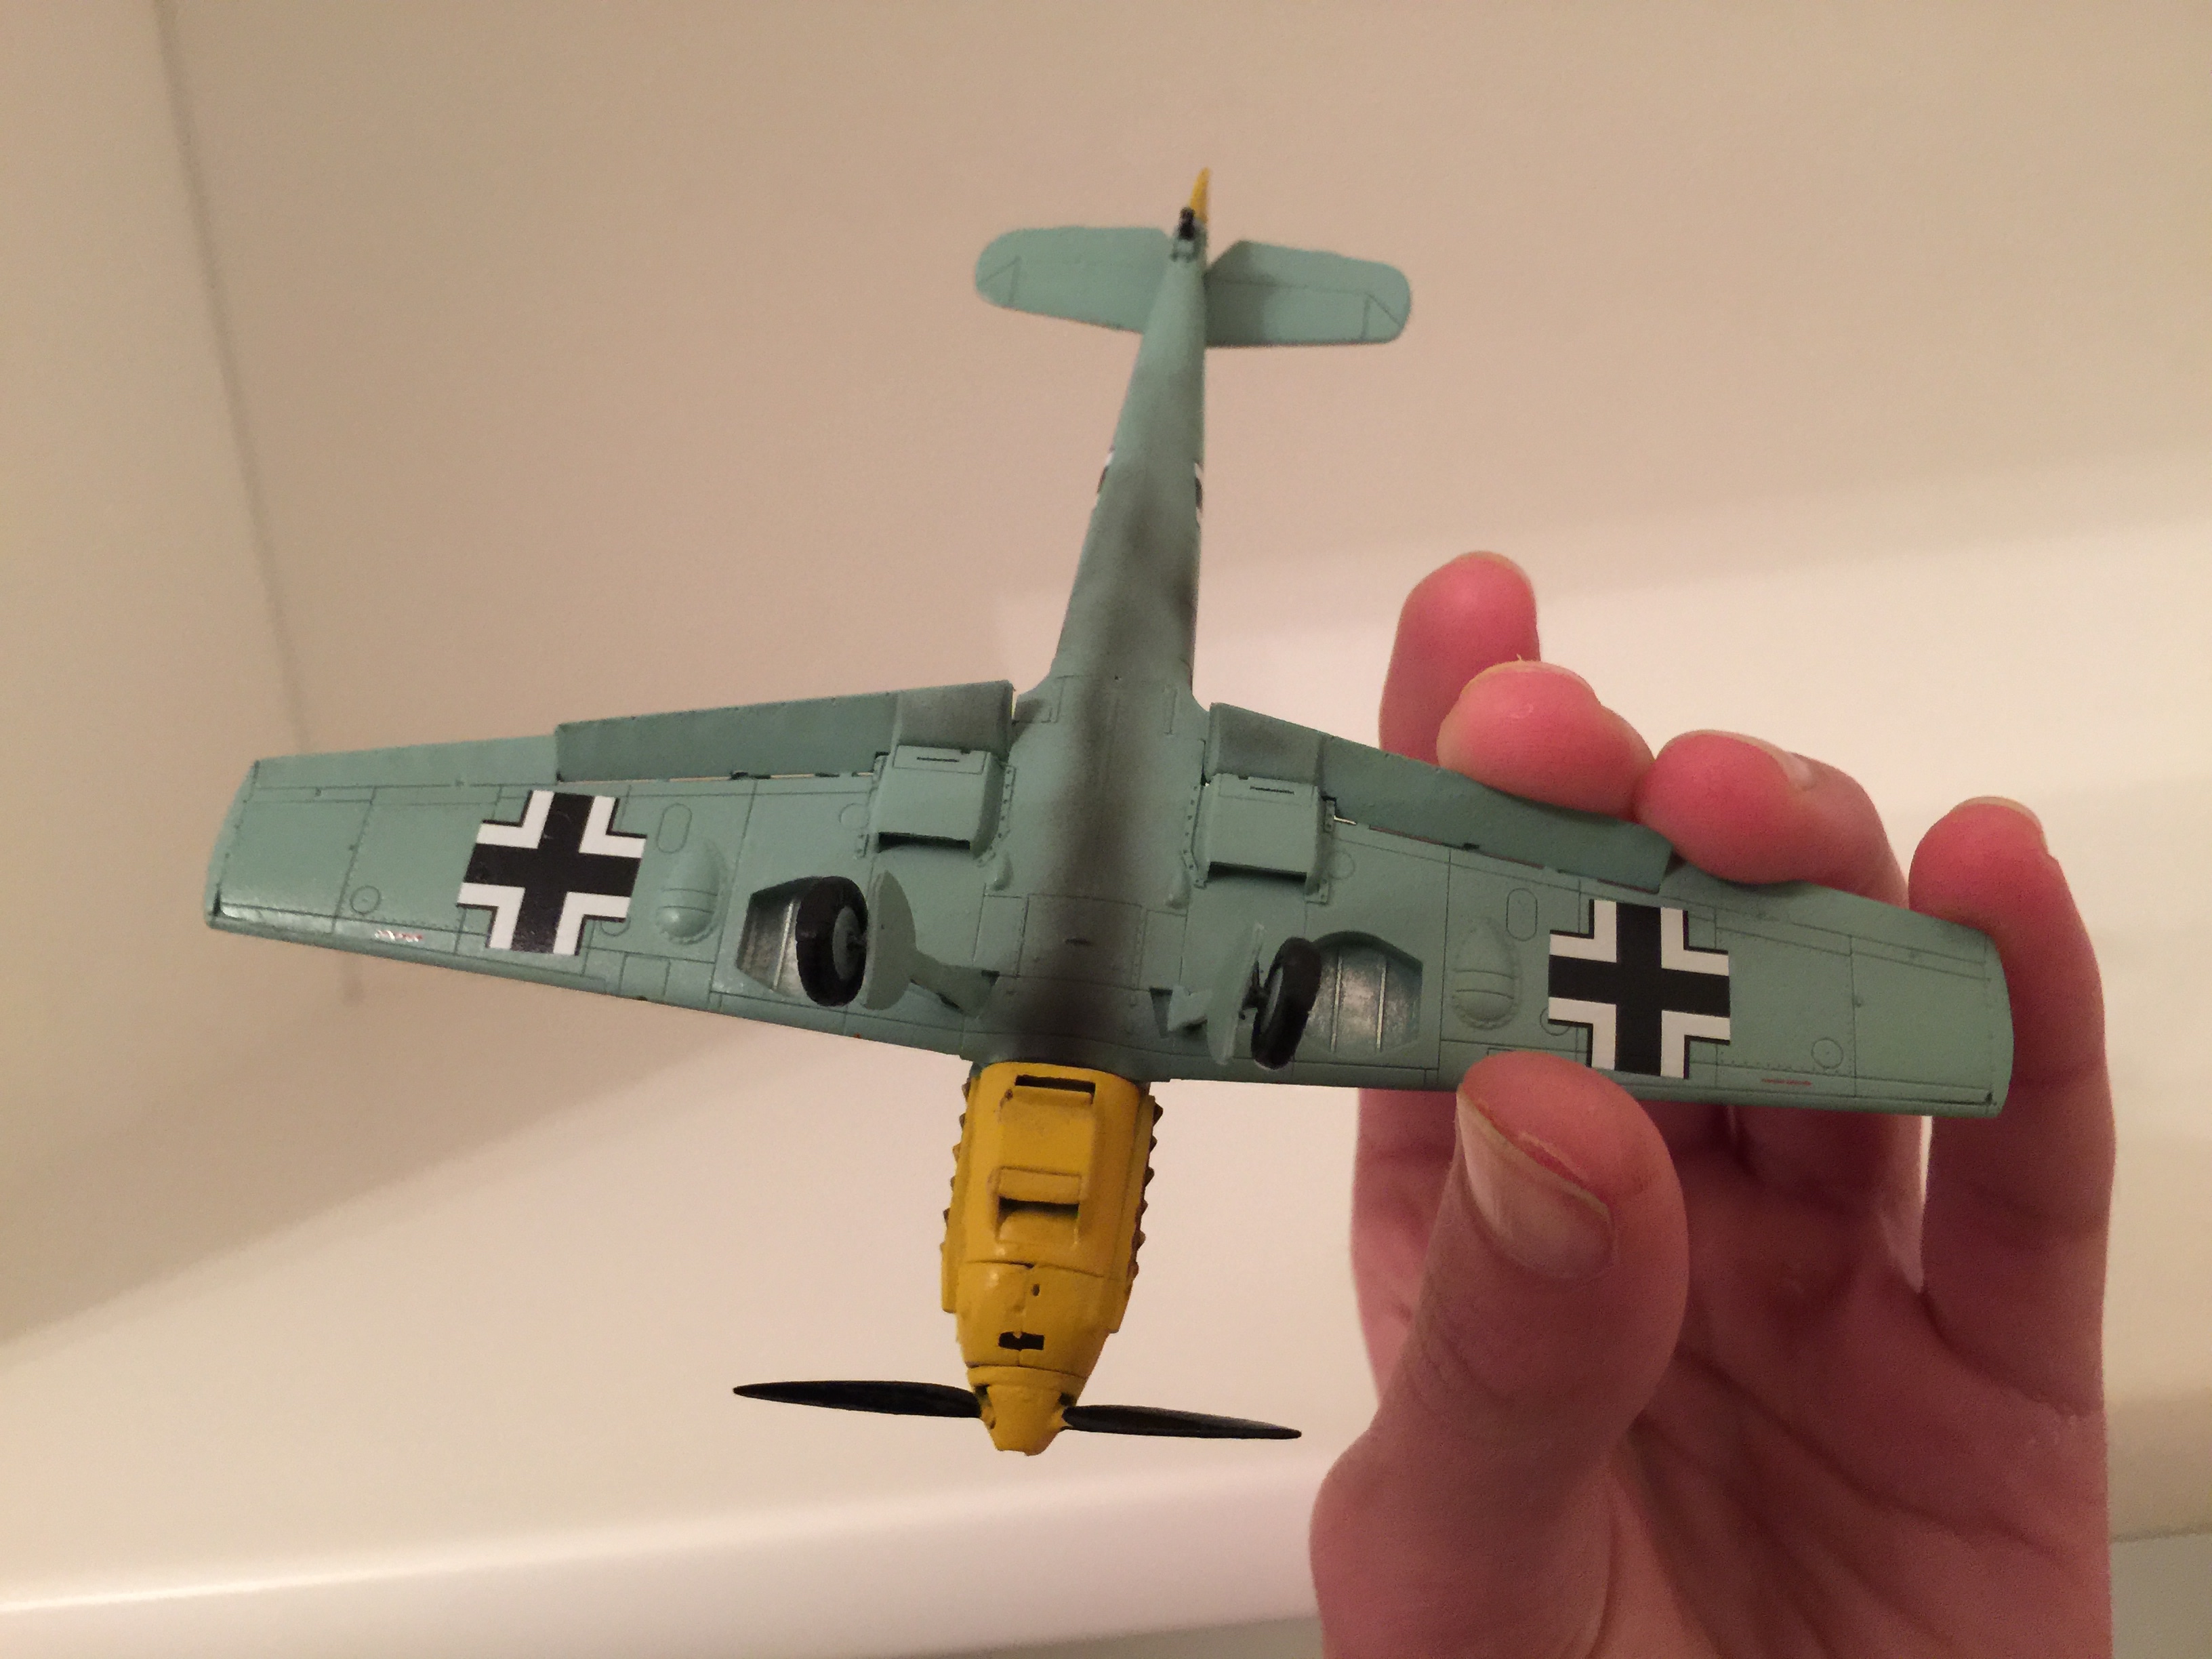
Found this nice little double kit at a local hobby shop for 16.99£ and decided to try building. Overall, both planes are assembled without any large gaps of misfitting parts. For the Bf109, I noticed that all of the little antennas that are mounted on the underside of the wing broke when taken off the sprue, no matter how careful I was. I used the paint that was included in the kit which turned out to work well although the containers were a little fiddly to open and the paint had to be mixed for the correct hue.
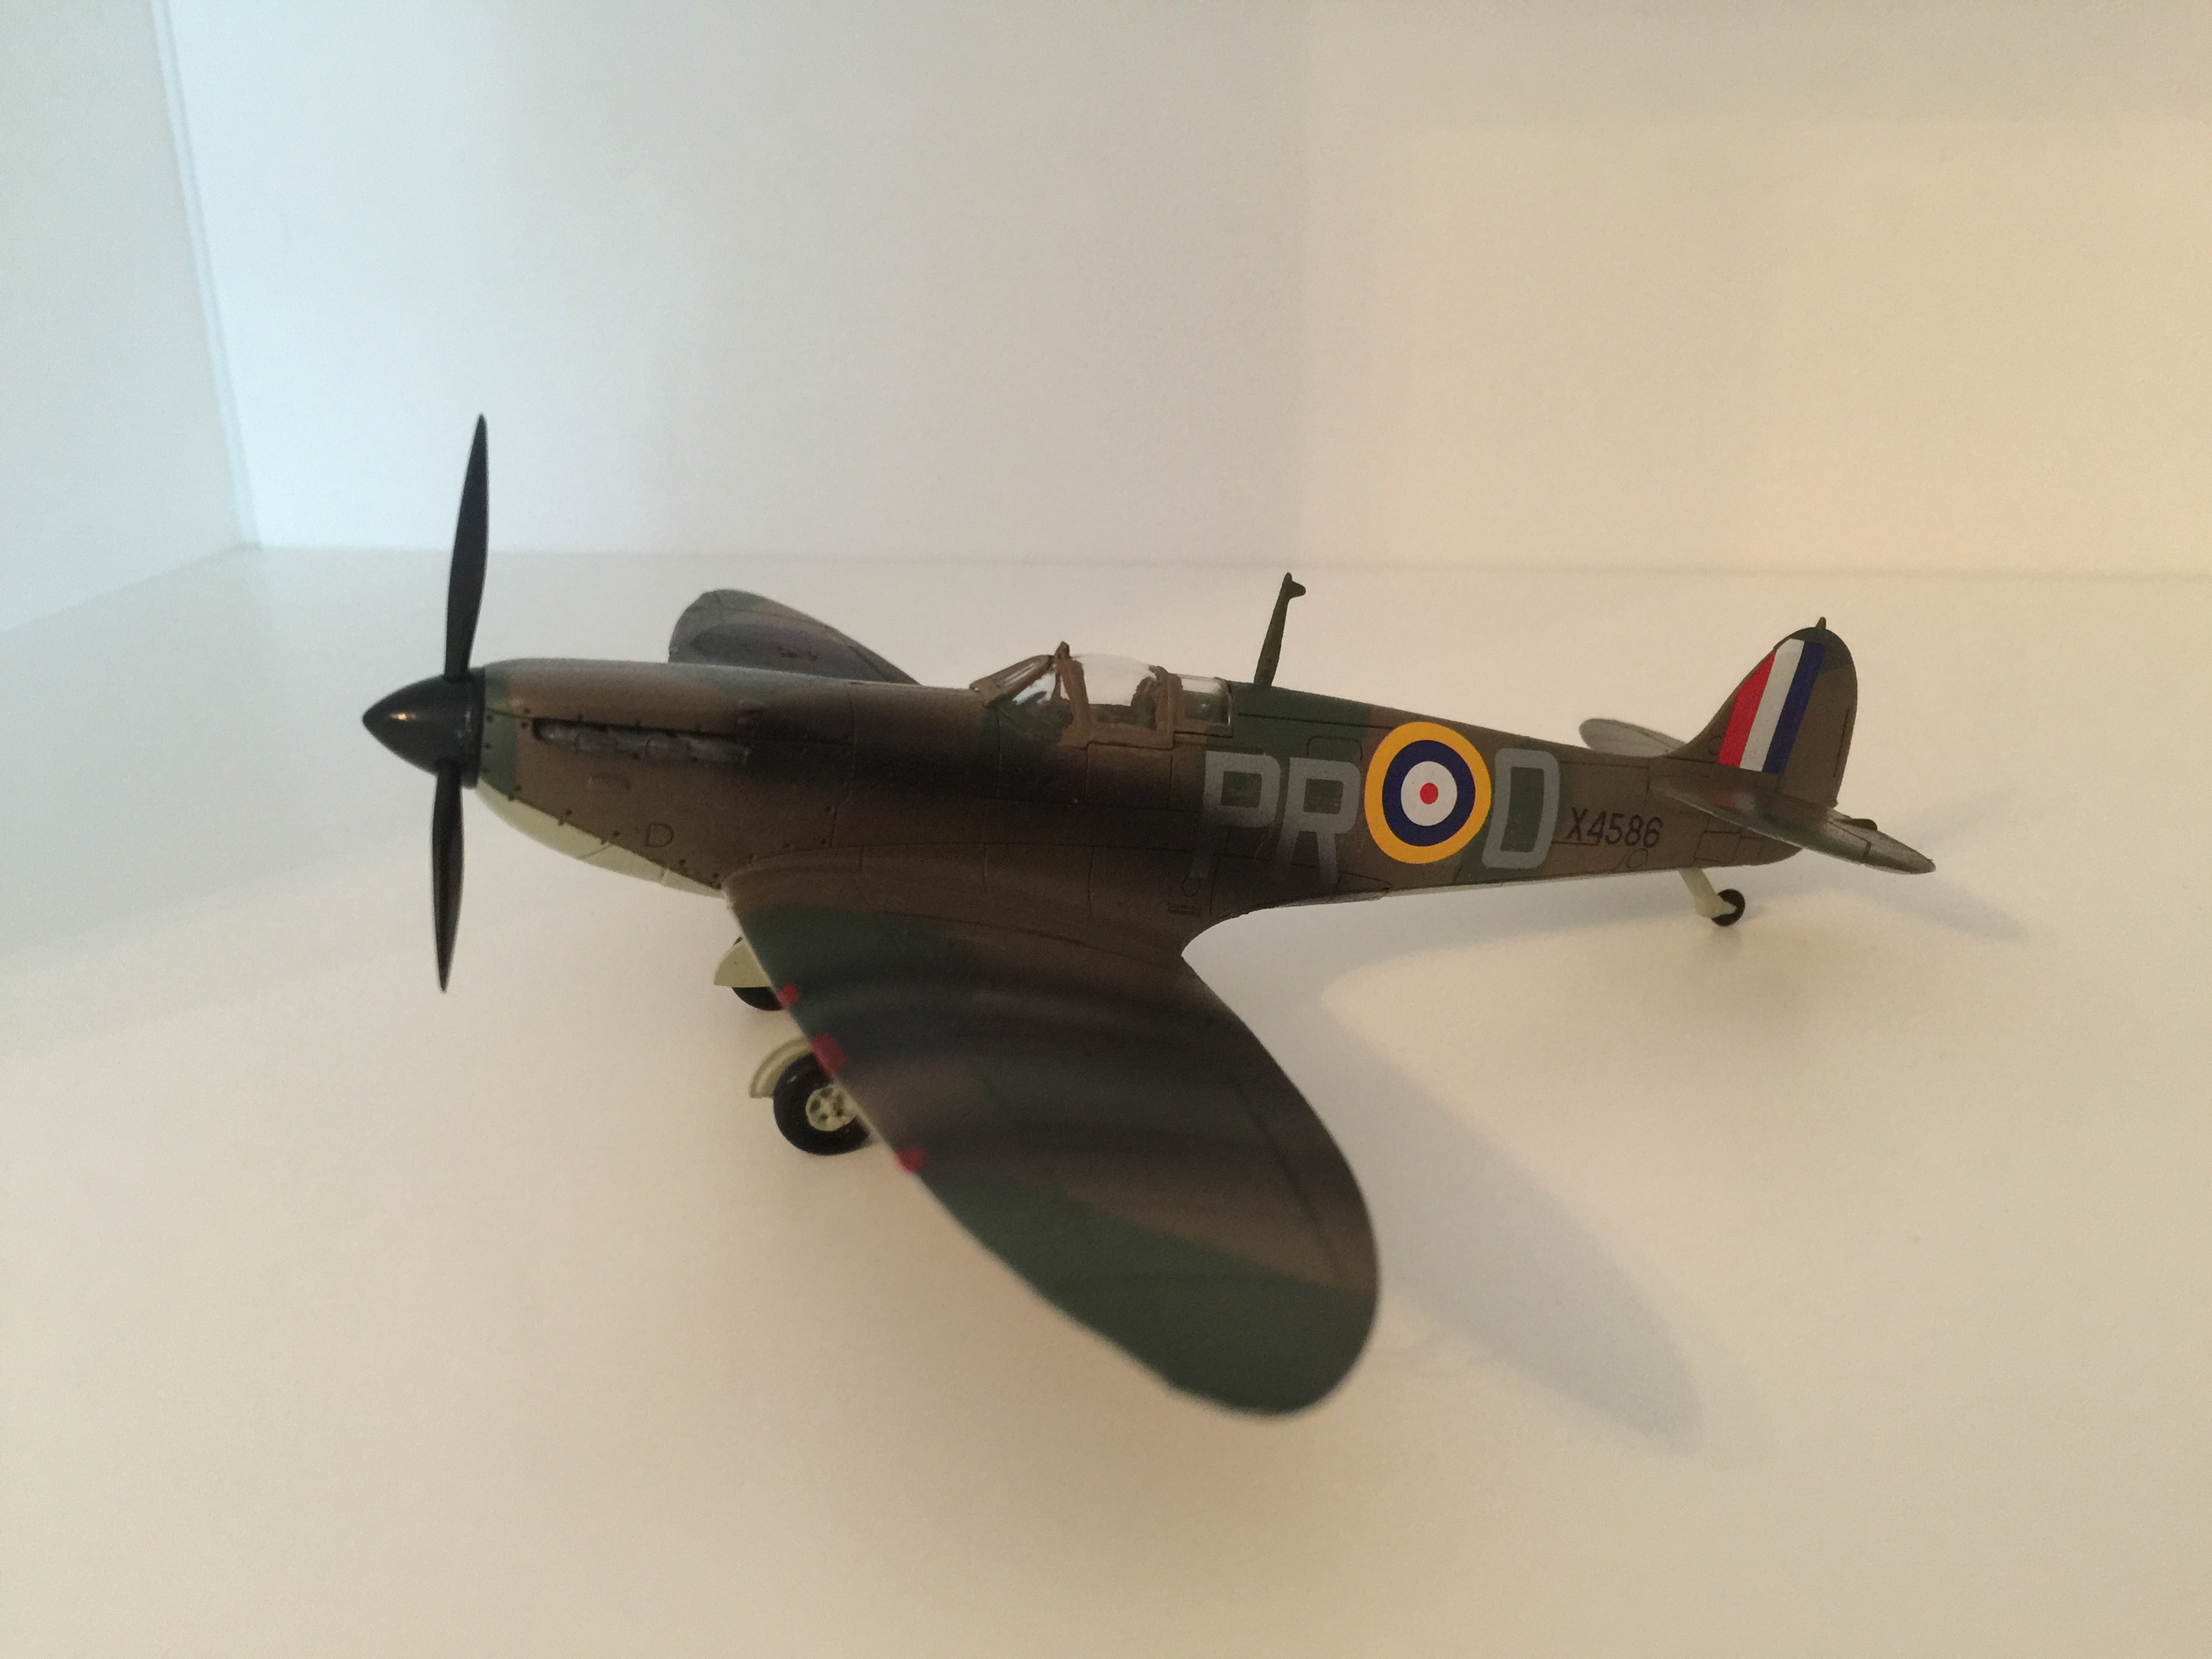
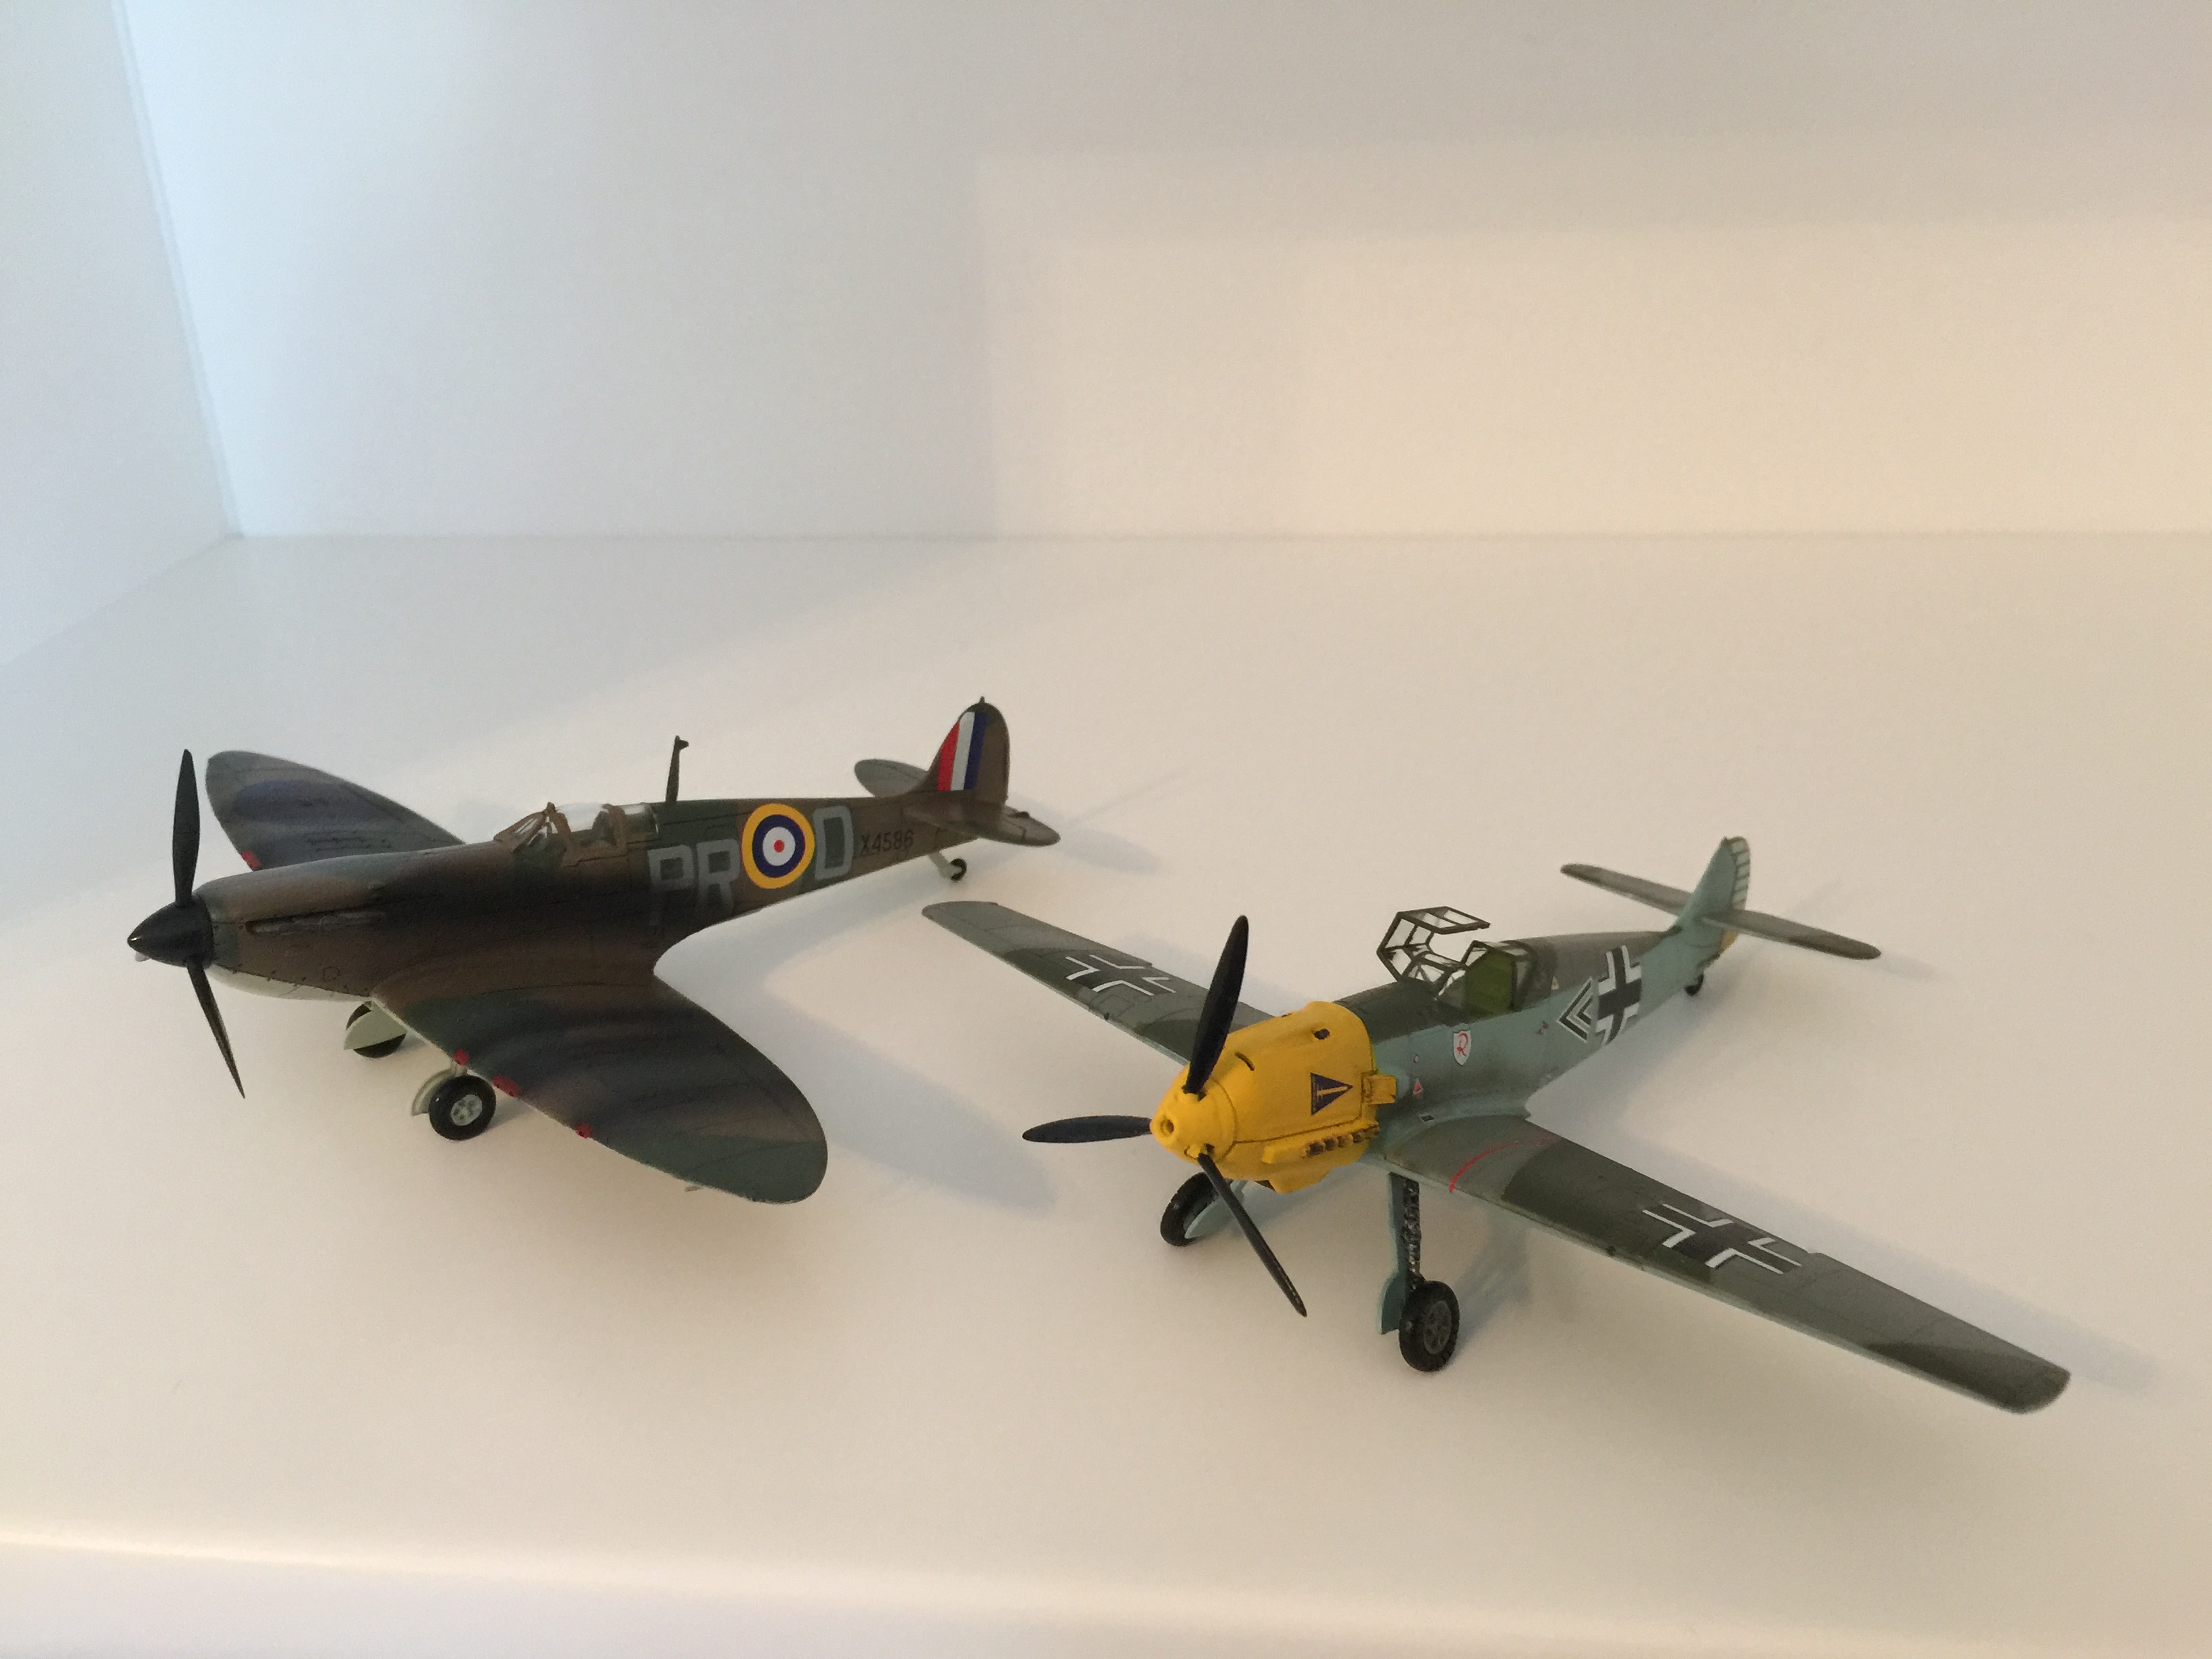
Overall, A very nice kit that fits quite well together without any large gaps, although there was a very small one right in front of the canopy that I filled up with milliput. I painted the camo using an airbrush and some non-staining clay. I think that I may have over-weathered it. The blue and red circle decal on the left wing got ripped so I could not apply it. For the red squares in front of the guns, instead of using decals, I painted them on.
Hello
Recently, I went for christmas shopping and saw this little airfix combo which includes a spitfire and a Bf 109 for 17 pounds. Firstly, I am going to build the Bf 109 and then the spitfire.
The sprue has absolutely no flash and the parts seem to be of a very high standard. The panel lines are all inscribed rather than raised.
The cockpit only consists of 4 parts but that is ok because you won’t really see it since this is 1/72
The prop did seem to be quite fragile and I did end up cracking the frontal yellow prop cone so be careful when sanding and removing it from the sprue
The fuselage fits together very nicely without an major gaps
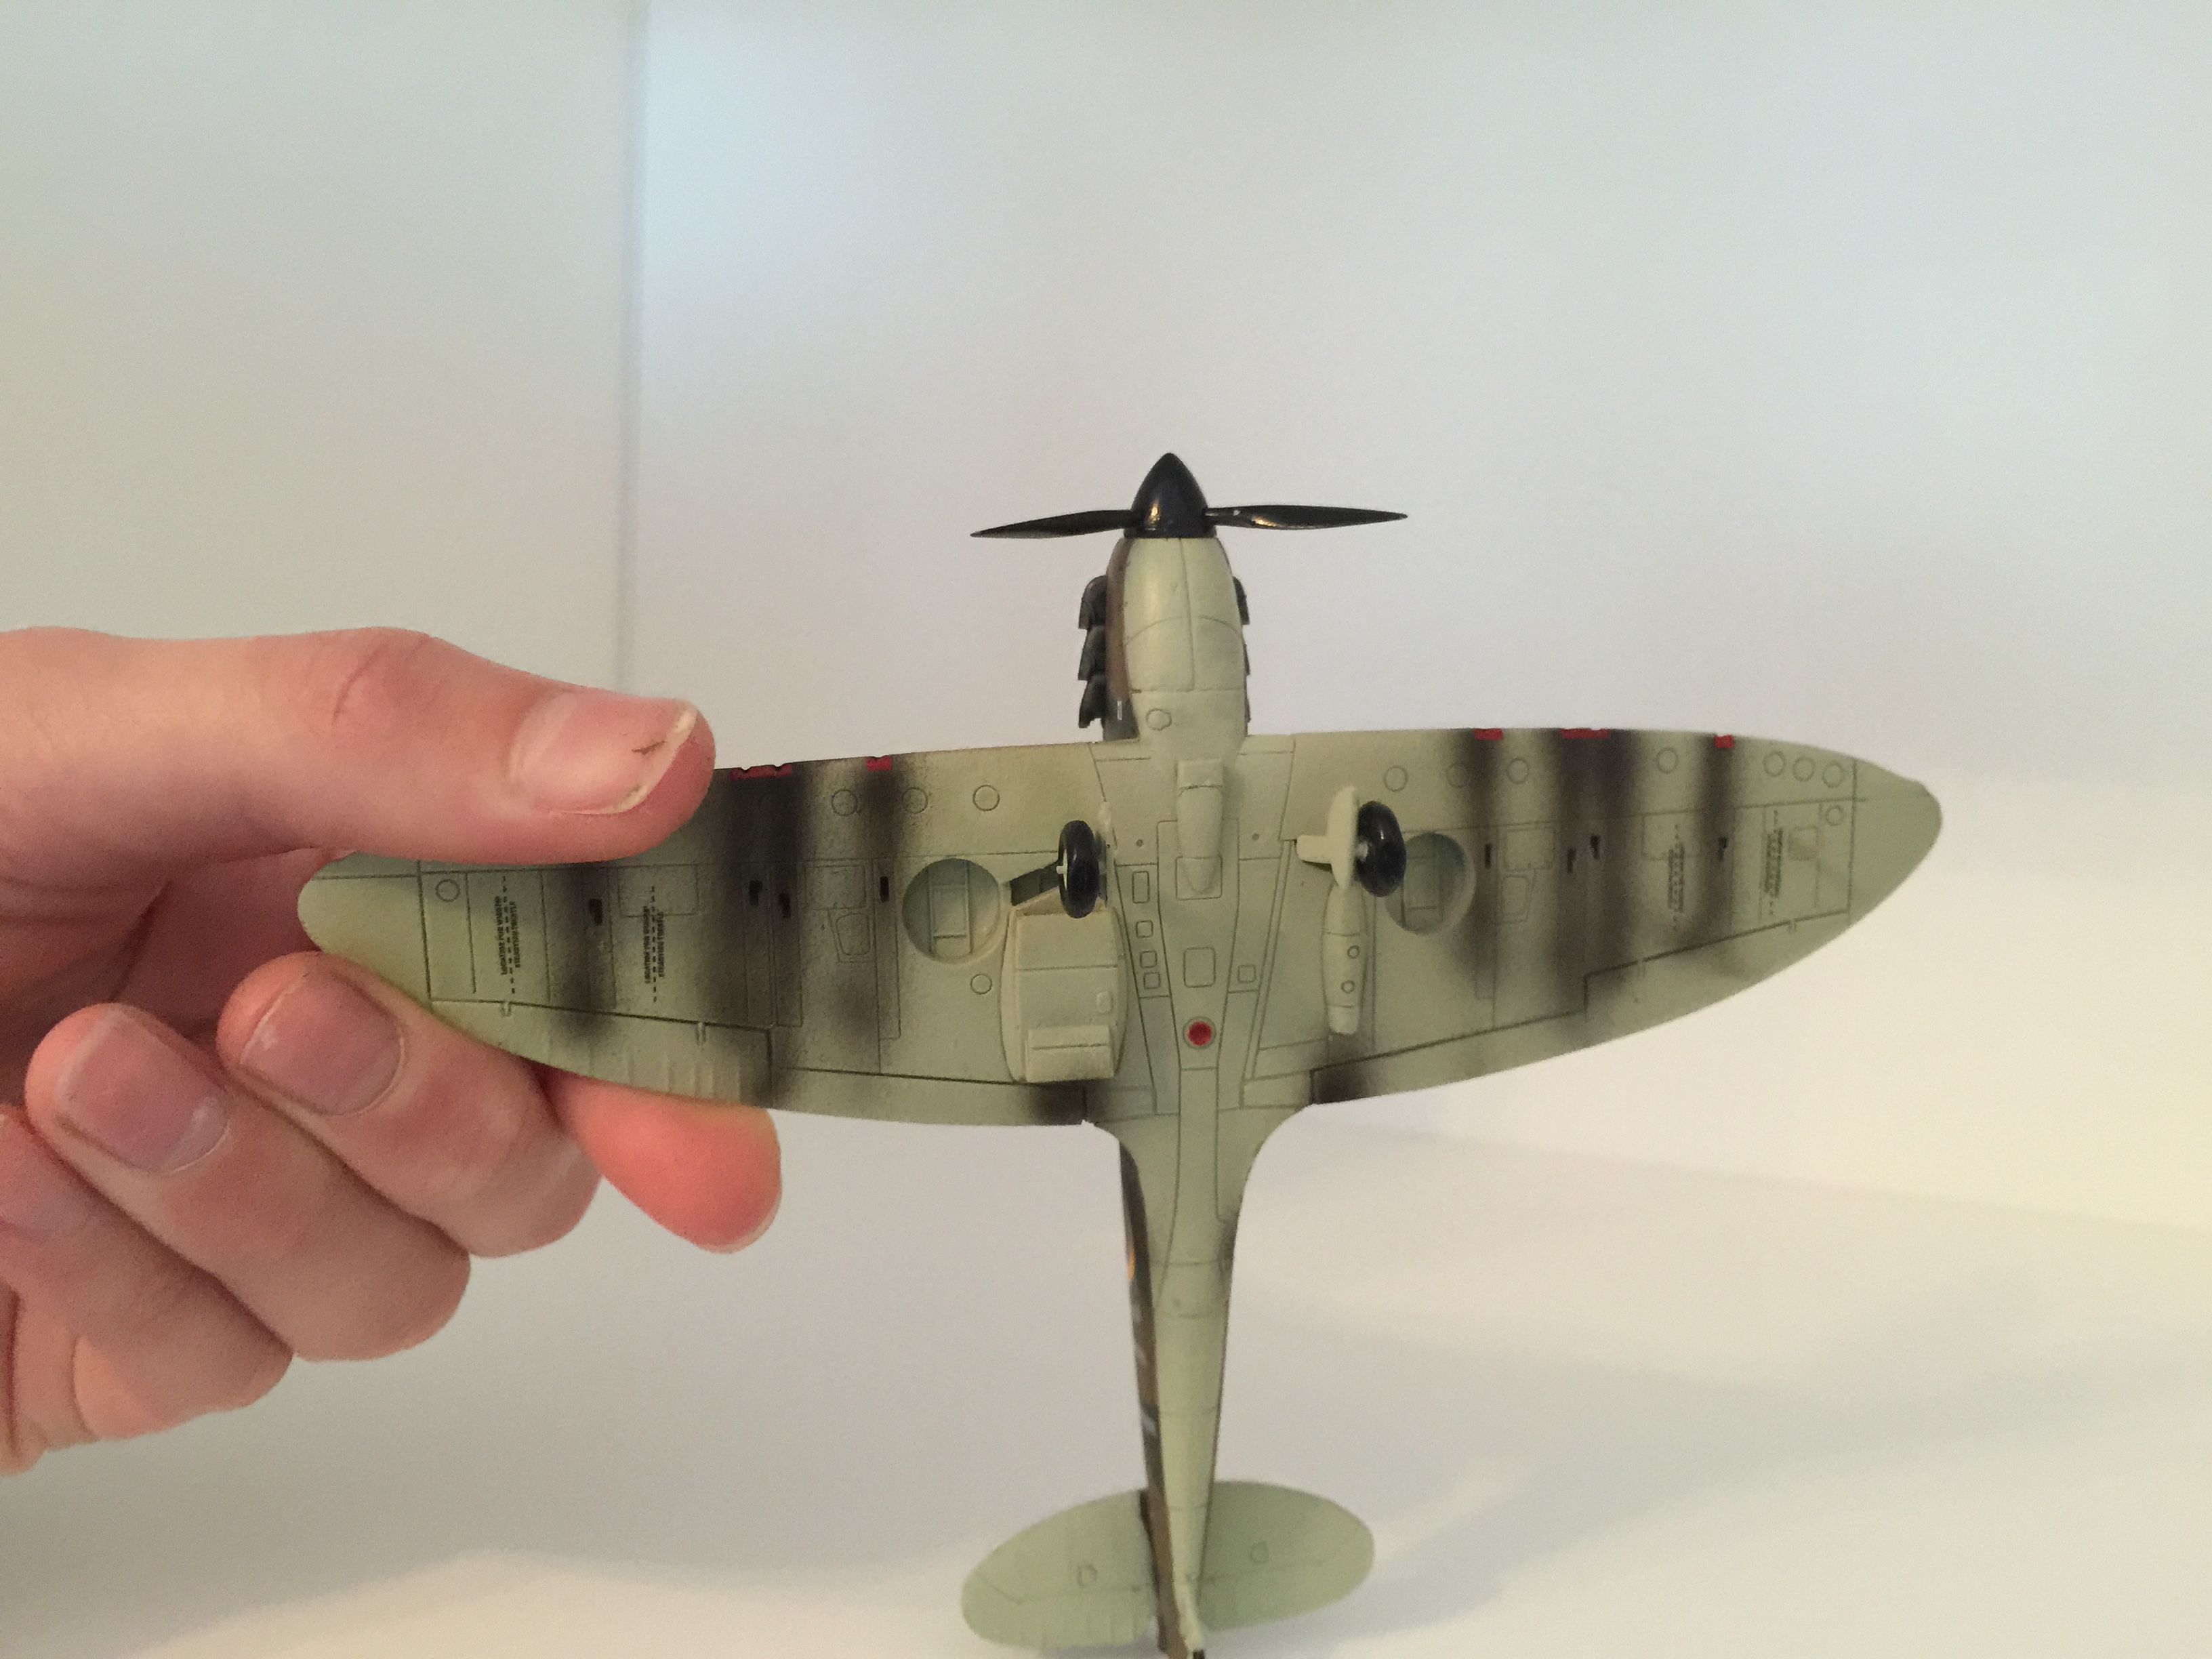
To me it seems that pre shading panel lines makes the model look a lot better
Pre shading works best with lighter colours such as this sky grey/blue
It is very hard to mask off everything perfectly on such small models.
I decided to airbrush everything for a nice flat finish
My model is starting to suffer from rough paint syndrome
The landing gears are so hard to attach since they are so small and are a very tight fit
I attached the canopy using some pva glue so it does not fog up the clear parts
the decals are really nice and are thin enough to fall into the panel lines with a bit of help from micro sol
Finally finished! Unfortunately, once I applied Alclad aqua gloss the paint on the model started looking very rough and had small bumps in it. Otherwise, everything went perfectly.
No Comments Yet